How to work with activity
Scope of this guide
This guide is focused on working with activities using the SAFE web application. If you want to learn about API interactions see FRMSc API documentation or Apps.
The Activities box is a scrollable box that lets you view, add or change granularities in your duty. To access this form, right-click a duty entry on the fatigue chart and select Activities.
This form breaks down duty start and end times into 15-minute intervals, displaying them sequentially as a list. Additionally, the fatigue score appears in the column next to the time intervals.
If no activities are set for an interval, the region between the interval and the fatigue score is blank. However, if there is an activity set for an interval, the type of the activity is shown in that region.

In this guide, we will learn how to manage activities using the web application.
Add an activity
The workflow
Adding an activity is only a step in a larger workflow. The steps below isolate creating activity from that workflow. To learn how to create a new activity as part of the entire workflow, see the Individual entry method in the How to load data into SAFE guide.
Overwriting activity?
You can't add an activity for an interval, which already has an activity set. Such action shows an error. If you want to overwrite an activity, you might want to try editing it. You could also delete an existing activity from an interval and a new activity over the interval to mimic overwriting.
To add an activity:
- Right-click a duty entry on the fatigue chart and select Activities.
- The Activities box appears. Click the + icon at the top-left of the box. Alternatively, you can right-click a blank interval, which you want to set the activity for and select the + icon.
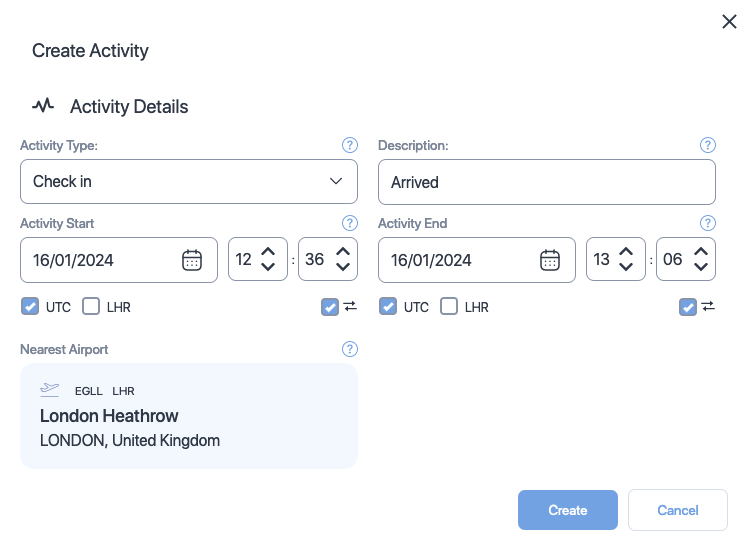
- The Create Activity form appears. Enter appropriate values to the properties in the form. See Activity properties for more information on each property.
- Click Create. The Create Activity form closes and the activity is shown on the Activities box for that interval.
- Click the close icon () at the top-right of the box to close the Activities box. The fatigue chart reloads, showing the updated analysis.
How to add activity?
View activities
To view activities, open the Activities box by right-clicking a duty entry on the fatigue chart and selecting Activities.
You can view existing activities set for a duty from the Activities box. If you uploaded activities file using the bulk upload method or our APIs, they will also be shown in this box. You can also see the fatigue scores throughout the duty for each activity.
Edit an activity
To edit an activity:
- Open the activities box by right-clicking a duty entry on the fatigue chart and selecting Activities.
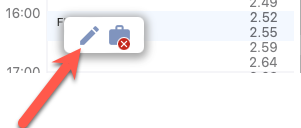
- Right-click the interval, which has the activity want to edit, and select the Edit Activity icon.

- The Edit Activity form appears. Make the necessary changes to the activity using the available properties in the form. See Activity properties for more information on each property.
- Click Save. The Edit Activity form closes and the changes are shown on the Activities box for that interval.
Delete an activity
To delete an activity:
- Open the activities box by right-clicking a duty entry on the fatigue chart and selecting Activities.
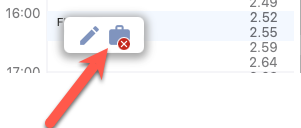
- Right-click the interval, which has the activity want to edit, and select the Delete Activity icon.

- A confirmation box appears, asking you to confirm your action. Click Delete to continue deleting the activity.
- The screen reloads and the updated Activities box appears.
Table of properties
Activity properties

| Property (* required) |
Description |
|---|---|
| Activity type* | Choose the type of activity from the dropdown. Click here to see the available types. |
| Description | Add a short description about or comment on the activity. |
| Activity start date and time* | The activity start date. Use the date time controls to set the date and time. |
| Activity end date and time* | The activity end date. Use the date time controls to set the date and time. |
| Time zone selector check boxes* | The time zone which the activity times are based on. Check the box that indicates the timezone. |
| Time zone lock check boxes | Select this property if you want the web application to automatically convert your entered dates and times to match your time zone selection when swapping between UTC and local time zones. |
| Nearest airport* | The airport that is nearest to this activity. You can not change this property. The nearest airport for any activity is the departure airport of the duty it belongs to. |